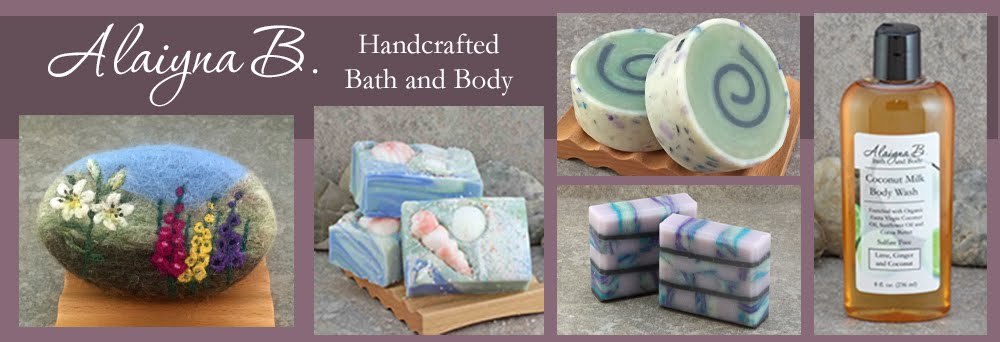
Lately I have been experimenting with round soaps created in a circular column style mold then sliced into individual bars (sounds a lot like baking......). You can create some unique swirled designs as you pour the soap into the mold, but I wanted to take that to the next level by centering a circular embed within the main soap.
For my newest soap designs, I use 1 1/4" thin walled PVC pipe cut to 12 - 13" long for the embedded log and 3" thin walled PVC pipe for the entire soap. The wall thickness of this pipe is about 2mm. The key to using PVC pipe is sealing one end so that the soap does not ooze out the bottom.
The thin walled PVC pipe I use is from Lowes Home Improvement and they also sell a nice fitting cap for the 3" size that allows the pipe to sit upright and not fall over. Finding a cap for the 1 1/4" pipe proved challenging. You can use several layers of freezer paper held on tightly by rubberbands, a silicone cupcake mold fitted and taped to the bottom or a 1 1/2" rubber furniture tip found at Ace Hardware. Because of the tapered nature of the tip, I had to cut it down to about 1" tall in order to fit it over the pipe end.
Fitting and taping a silicone cupcake mold to seal the bottom of the PVC pipe
3" thin walled pipe:
Charlotte PVC 30030 (3" x 10") sewer pipe is about 2mm thick.
http://www.lowes.com/pd_24164-1814-PVC+30030++0600_0__?Ntt=pvc+30030&UserSearch=pvc+30030&productId=3133165&rpp=32
3" cap that fits nice and snug on the above pipe and has a flat end:
http://www.lowes.com/pd_171359-676-306_0__?productId=3449804&Ntt=
1 1/4" thin walled pipe:
Charlotte PVC 16012 (1 1/4" x 10')
http://www.lowes.com/pd_23996-1814-PVC+16012++0600_0__?Ntt=pvc+16012&UserSearch=pvc+16012&productId=3133113&rpp=32
1 1/2" Rubber Furniture Tip:
http://www.acehardware.com/product/index.jsp?productId=3674853&cp=2568443.2568451.2626210.2627543.2627583
You will need a way to cut the above pipes into 12 - 13" sections.
OR
you can purchase an almost identical set up for the 3" mold from Brambleberry here.
Making this type of soap is a two step process. For the above Cherry Blossom Soap, I make the soap for the center embed by using an "in the pot" swirl technique with about 4 colors. That soap is made and poured into the 1 1/4" PVC pipe molds and sets for 24 hours. When I am ready to remove it, I pop it into the freezer for an hour or two, then use a pliers to grab onto the liner and slowly slide the soap out. You can use a lot of creativity here and use solid colors for both inner and outer soaps, or solid in the center and swirled in the outer (as seen in the first images.)
Solid colored soap to the left and "in the pot" swirl on the right for the embeds
Once the embed log is removed from the mold, the outer soap is made (this example has no added color to the outer portion), scented and the previously made log is centered into the 3" PVC pipe mold. The soap is poured at light to medium trace as the inner log is made stable by placing your gloved finger on the surface as you pour the soap around it. Tap to settle soap and remove trapped bubbles. Cover with a few layers of plastic wrap, secure with rubber bands and allow to set up for at least 24 hours. I wrap it in a thick towel and keep it upright by wedging it between boxes for support. Make sure the soap is somewhat set before trying to wrap it in towels so the soap does not spill out.
After 24 hours and your soap is firm (this will depend on your formula), pop it into the freezer for a few hours. Use a pliers to grab the liner and slowly slide the soap out. Allow it to warm up a bit and slice into individual bars as you normally would.
I stick with 12" - 13" tall PVC molds as anything taller is too difficult to work with. A 3" by 12" PVC mold will hold about 55 ounces of soap or about 38 ounces of oils. So to do the embed, you will need to reformulate that out into 2 separate formulas. I will actually do multiple embed logs at the same time. Two 13" tall 1 1/4" diameter logs used about 30 ounces oils in my formula. Any excess was poured into individual silicone molds for personal use.
~ Faith
Copyright 2006 - 2014 Alaiyna B. Designs, Alaiyna B. Bath and Body. All rights reserved. All text and images are the property of Alaiyna B. Designs. No part of this document or webpage may be reproduced by any means without prior written consent of Alaiyna B. Designs and/or Alaiyna B. Bath and Body.


Love this idea, thank you :)
ReplyDeleteThanks for sharing, great idea.
ReplyDeleteDid you experience any problems with the two kinds separating during use or did they fuse together fine?
ReplyDeleteThank you!
Hi Rand - no separation at all, they gel together beautifully (and I gel all my soaps too.) I use the same formulation for both the inner and outer cores and create them within 24 hours of each other so that both pieces also cure at the same rate.
DeleteBrilliant idea. I've been using a PVC pipe for quite a while, but never thought about adding an insert.
ReplyDeleteGreat idea.. thanks for sharing.
ReplyDelete