This is a quick picture tutorial of how I accomplish this. For more detailed instructions, there are several cookie websites that have tutorials on the brush embroidery decorating technique.
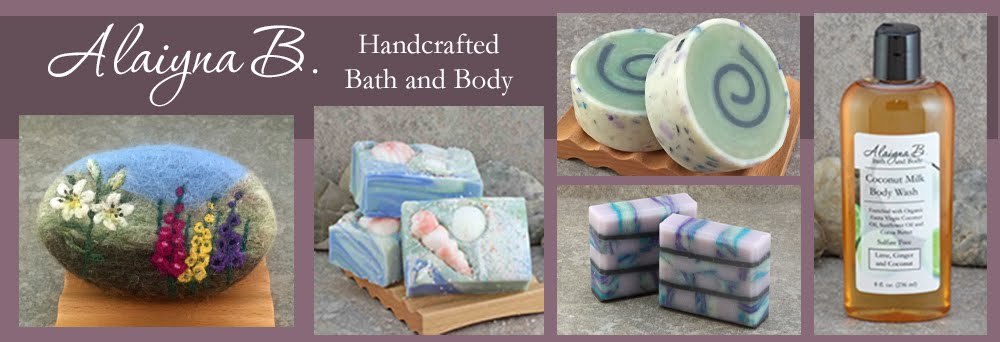
Here are some of my beach themed royal icing sugar cookies to the left and the finished soap to the right.

I am going to recreate this type of design with cold process soap. Both in circular and square soap bars.

Sliced and ready to decorate


To make the "icing" to decorate I use the same formulation as the bars and allow it to settle into a fairly thick trace. Much like frosting. Too thin and it will spread too much and not hold its shape, too thick and you will not be able to squeeze it through the #2 decorating tip. I do not add scent to this soap in order to have as much control over the consistency without having to deal with ingredients that can accelerate trace.

To decorate you will need an icing bag with a #2 round tip, a small flat paintbrush and small cup of water. Fill the icing bag with some of the soap.

Squeeze the icing soap into the bars along the separation line in a wavelike pattern.


Dip the paintbrush in water and blot any excess onto a paper towel. If it is too wet, the soap will not spread as easily. Using the paintbrush, pull down some of the soap towards you all along the wavelike line as shown. This is to make whitecaps that appear as the ocean waves hit the surface air.


Add more waves if desired. I also added a melt and pour white seashell using the soap "icing" to glue them onto the sand portion.

You can use this technique to make flowers and leaves on your soap too.
~ Faith
super finition! bravo c'est magnifique!
ReplyDeletebrigitte