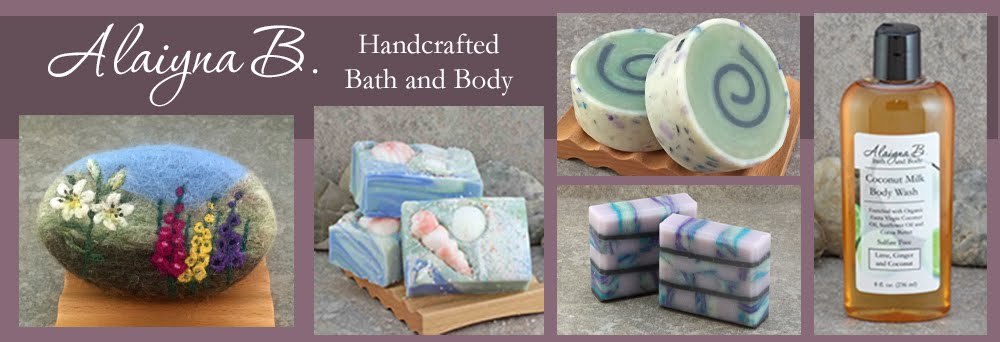
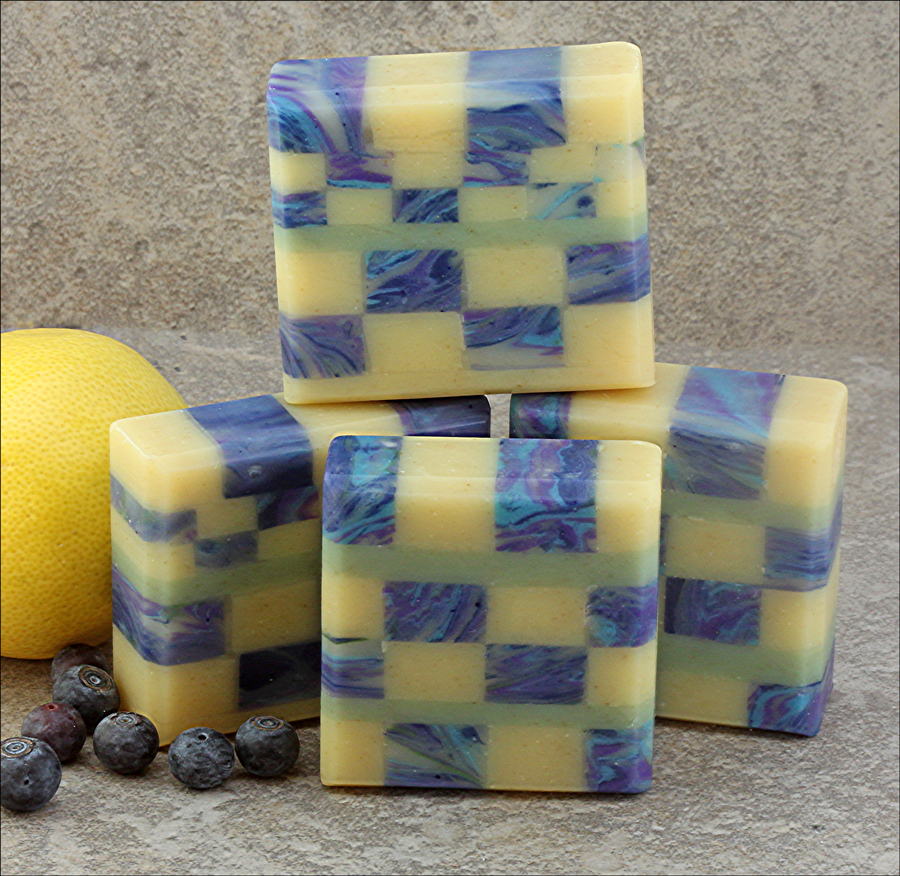
Mosaic Soap - Scented in Blueberry Lemon
I really love the creativity that soapmaking can bring out and I have seen so many awesome soaps with a lot of piping, surface embeds and unique shapes (especially the food soaps - love making cupcakes). But..... I find people tend to not want to or are confused over using such beautiful soaps and I want my customers to use the soaps that I create. Because of this I am sticking to creating beautiful and unique soaps in usable shapes and sizes. These mosaic soaps perfectly fit this goal.
This tutorial is an experiment in action. Much of it is based on theory and experimentation - please keep this in mind as your results with this technique may very based on formulation, molds and oven temperatures. I consider this a starting point for others to experiment with in design and method.
My base soap is created with 38% hard oils (coconut, palm), 4% butters and 58% soft oils (olive, castor, avocado, etc.). I add sodium lactate at 5 grams per pound of oils and superfat at 5% with close to full water (35 - 38%). You need to fully gel your soap so that it is pliable after a full gel and cooled.
For this design, I alternated a solid yellow soap with an In The Pot Swirl of ivory, blues and purple (with a tiny hint of green). I also used a solid green to separate some of the layers. All pieces were created using the same formulation and created within a few days of the others (so that none of the soap has cured much and hardened).
Color Palette - Yellow Mica for the solid portion
Ivory, light blue mica, dark blue (ultramarine blue and black mica) and
purple mica for the swirled portion
purple mica for the swirled portion

The start of the In The Pot Swirl

Both halves in the molds ready to force gel in a preheated
170 F oven until gelled.
170 F oven until gelled.
This is also referred to CPOP
(Cold Process Oven Process) soaping.
(Cold Process Oven Process) soaping.

This is the setup to slice and create the mosaic pieces that will be used to create the designs.
The green in front was from a previous batch that I am incorporating into this one too.
I use the same molds in order to get a snug fit for the layers. I use the wire soap slicer from Brambleberry. It has increments of 1/8" and you can also use cardboard or other thin
materials to help build the height that you need.

First I slice slabs in different thicknesses based on the design I am looking to create. The slabs are then cut lengthwise to get smaller square or rectangle logs (apologies - don't have a pic of those).

After cutting the three colors into thin slabs and square/rectangular pieces they are arranged into a design that will fit right back into the same molds. I intentionally create them taller than I want the finished soap to be because I know I am going to have to trim the top and sides. You want as snug a fit as possible between the pieces to avoid little holes in the finished soap.

Placing the soap pieces into the molds piece by piece using either 91% rubbing alcohol or water spritzed on each piece very well. Not sure if the liquid is necessary to help the pieces adhere to each other and counter the water loss from the heat, but both methods have worked. Be careful with water as it can create bubbles as you proceed (it is soap....)
Have not tried this dry.
Have not tried this dry.

Back into the oven with the temperature set at 170 F - 200 F for 2 - 3 hours.
The time and temperature for this will vary based on one's soap, molds and oven.
You want it hot enough and long enough to allow the layers to adhere to each other
without overheating and boiling. Experiment to see what works for you.
I keep it in the oven until the surface is very soft and looks like it is gelling.
Allow the soap to cool completely before unmolding.
Allow the soap to cool completely before unmolding.
Using my wire slicing tool to trim the sides and top of completed logs.
I have yet to get a smooth surface from this technique and this tool from Brambleberry
allows me to trim the surfaces of the entire log evenly.

The trimmed logs ready to be cut into individual soaps. I use the excess soap that was trimmed off as embeds in another batch (shreds or chopped into small pieces) - no soap goes to waste around here.

Finished designs


This technique allows for a lot of creativity in design. Give it a try and let me know of any hints and tips you may come across in your own experimentation.
~ Faith
Great tutorial. I'm really looking forward to giving this a go - thank you so much :)
ReplyDeleteThanks for sharing how to do this technique! I am new to soaping but love the whole creativity of what you can do with it. I love your soaps and found your Etsy shop which led me to your blog through your beautiful piano key soap design. My teenage daughter plays the piano (it's her love), and I'm hoping to surprise her with making this design for her soon. ;)
ReplyDeletewhere do you get the colors?
ReplyDeleteMost of the colorants come from Mad Oils and Brambleberry.
DeleteCould one of the logs be melt and pour? Lovely soaps and great blog. I am a an artisan soaper (Soap Diairies) and needle felter and think you create exquisite needle felting. Bravo to you!
ReplyDelete